
If you’re a gamer, then you know customizing your gaming gear is almost as important as playing the actual game. Building your own custom gaming controller takes your gaming experience to the next level and gives you a unique controller that no one else has. It’s also a fun and rewarding project that even an 18 year old student can do. In this article, I’ll walk you through the steps of building your own custom gaming controller, from choosing parts to putting it all together.
Overview of Building Your Own Custom Gaming Controller

I’m an 18-year-old gaming enthusiast and I’m here to tell you it’s totally possible to make your own custom gaming controller! Building a custom controller is not as daunting as it may seem. It involves gathering a few materials, understanding what the controller needs to do, and putting it all together. It’s a great way to get creative and make a controller that suits your gaming needs. With the right supplies and a bit of patience, you’ll be able to make your own custom gaming controller in no time!
Gather the Necessary Components and Tools
If you’re looking to build your own custom gaming controller, you’ll need to gather the necessary components and tools. This includes things like soldering supplies, a controller kit, and a microcontroller. You’ll also need to source the buttons and joystick that you want to use with your controller. Additionally, you’ll need to invest in a soldering iron, solder, and any other tools for putting the controller together. Lastly, if you’re not comfortable soldering, you may want to look into a DIY controller kit that includes pre-soldered components. That way, you can easily put it together without having to worry about soldering any of the pieces together.
Assemble Your Controller
Building your own custom gaming controller is so much fun! After selecting the parts you want, it’s time to assemble your controller. There are several steps to this process. First, you’ll want to make sure that all the parts are compatible with each other. Next, you’ll need to connect the various wires and components. Finally, you’ll need to set up the software for the controller. It’s a good idea to refer to the instructions that come with the parts you purchased for more specific instructions. Once the assembly is complete, you’ll be ready to start gaming with your own custom controller!
Test and Troubleshoot Your Custom Gaming Controller
Testing and troubleshooting your custom gaming controller is key to ensure a smooth gaming experience. First off, make sure all the parts you used to build the controller are compatible. Then, connect the controller to your console or PC and test it by playing a game. If you find that the controller is not working properly, check the wiring and cables. Make sure all the connections are solid and the wires are properly connected. If all else fails, try to reset the controller or switch the batteries. Lastly, if you still experience any issues, contact the manufacturer or seek professional help.
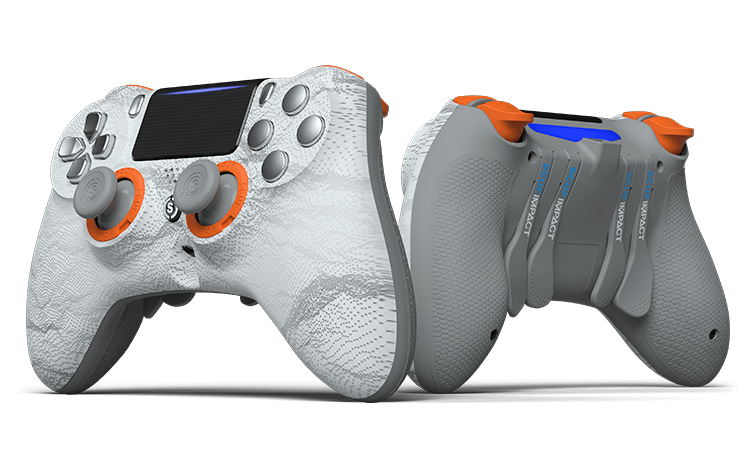
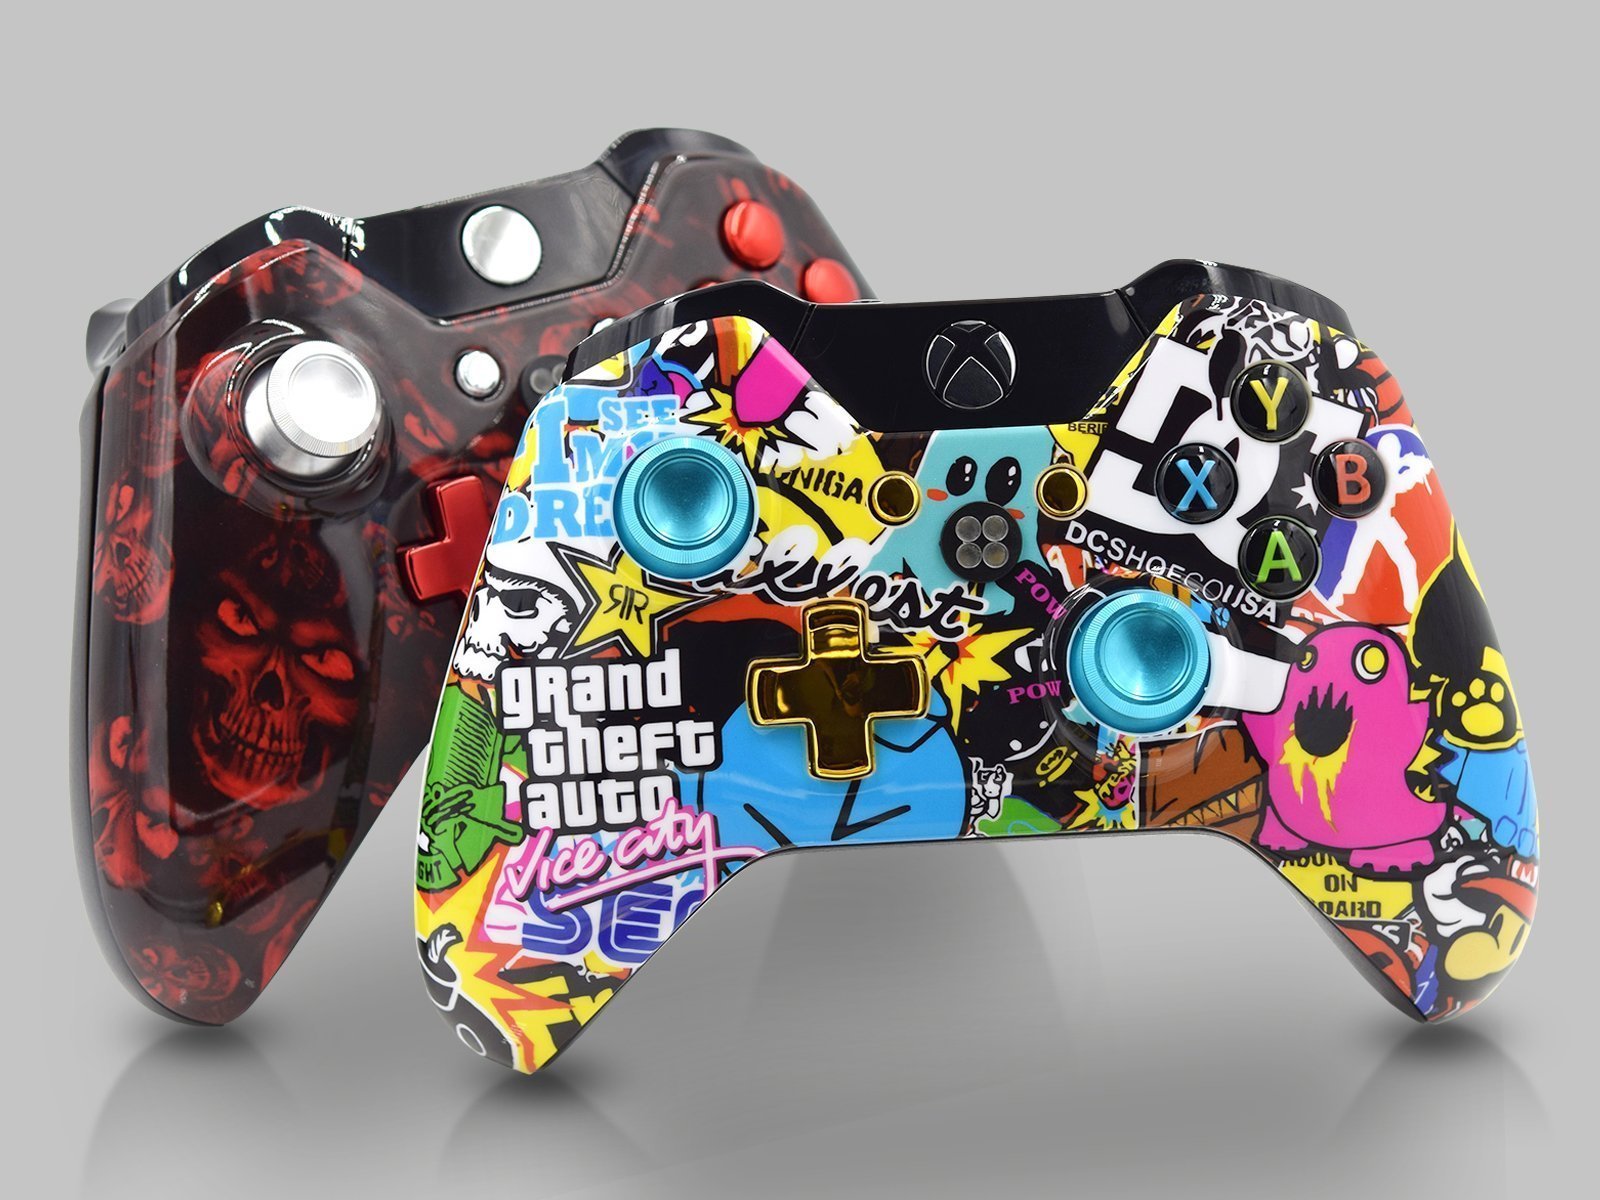
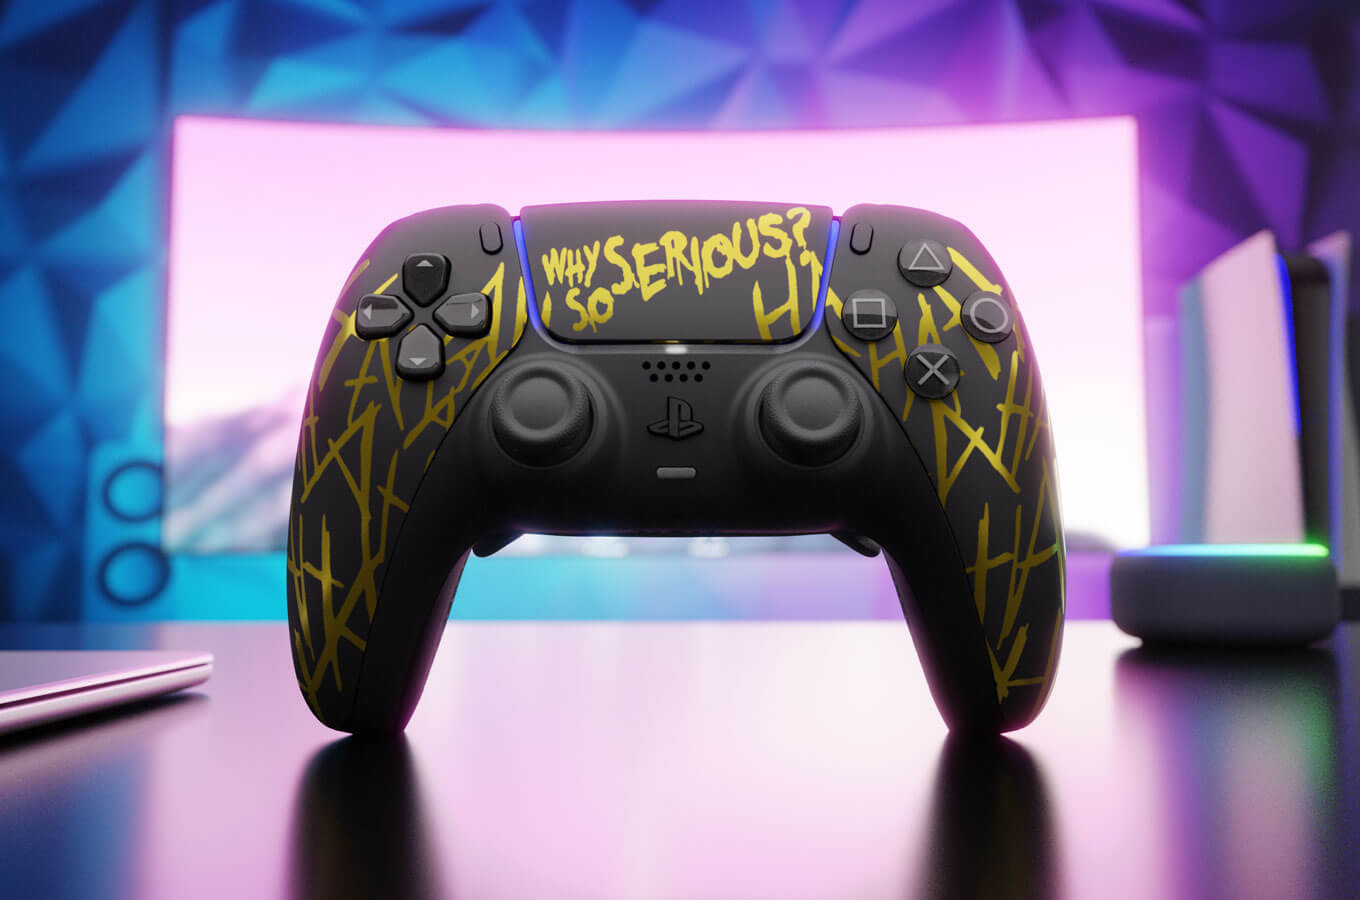
Get Creative and Make an Unique Custom Gaming Controller
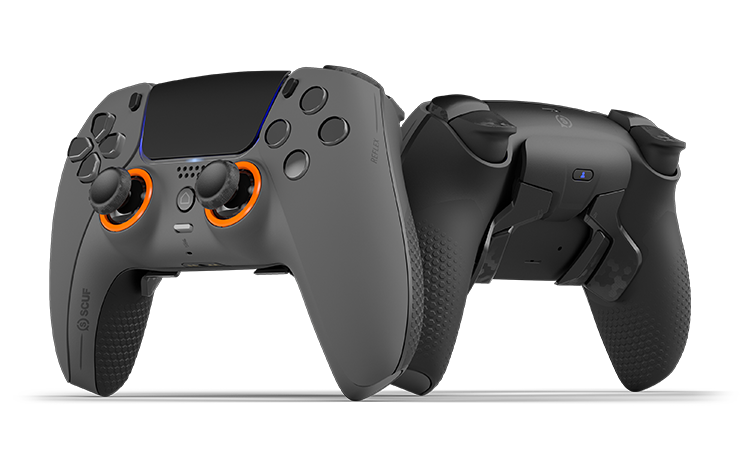
If you’re looking to build something truly unique, then building your own custom gaming controller is the way to go. It’s a great way to express your creativity, and you can make something that is truly one-of-a-kind. You’ll need some basic knowledge of electronics, but it’s not too difficult. All you need is the right components, a few tools, and a bit of elbow grease. Plus, you can customize it however you like, so your controller will be as unique and individualized as you are. So get creative and make your own custom gaming controller!


GIPHY App Key not set. Please check settings