
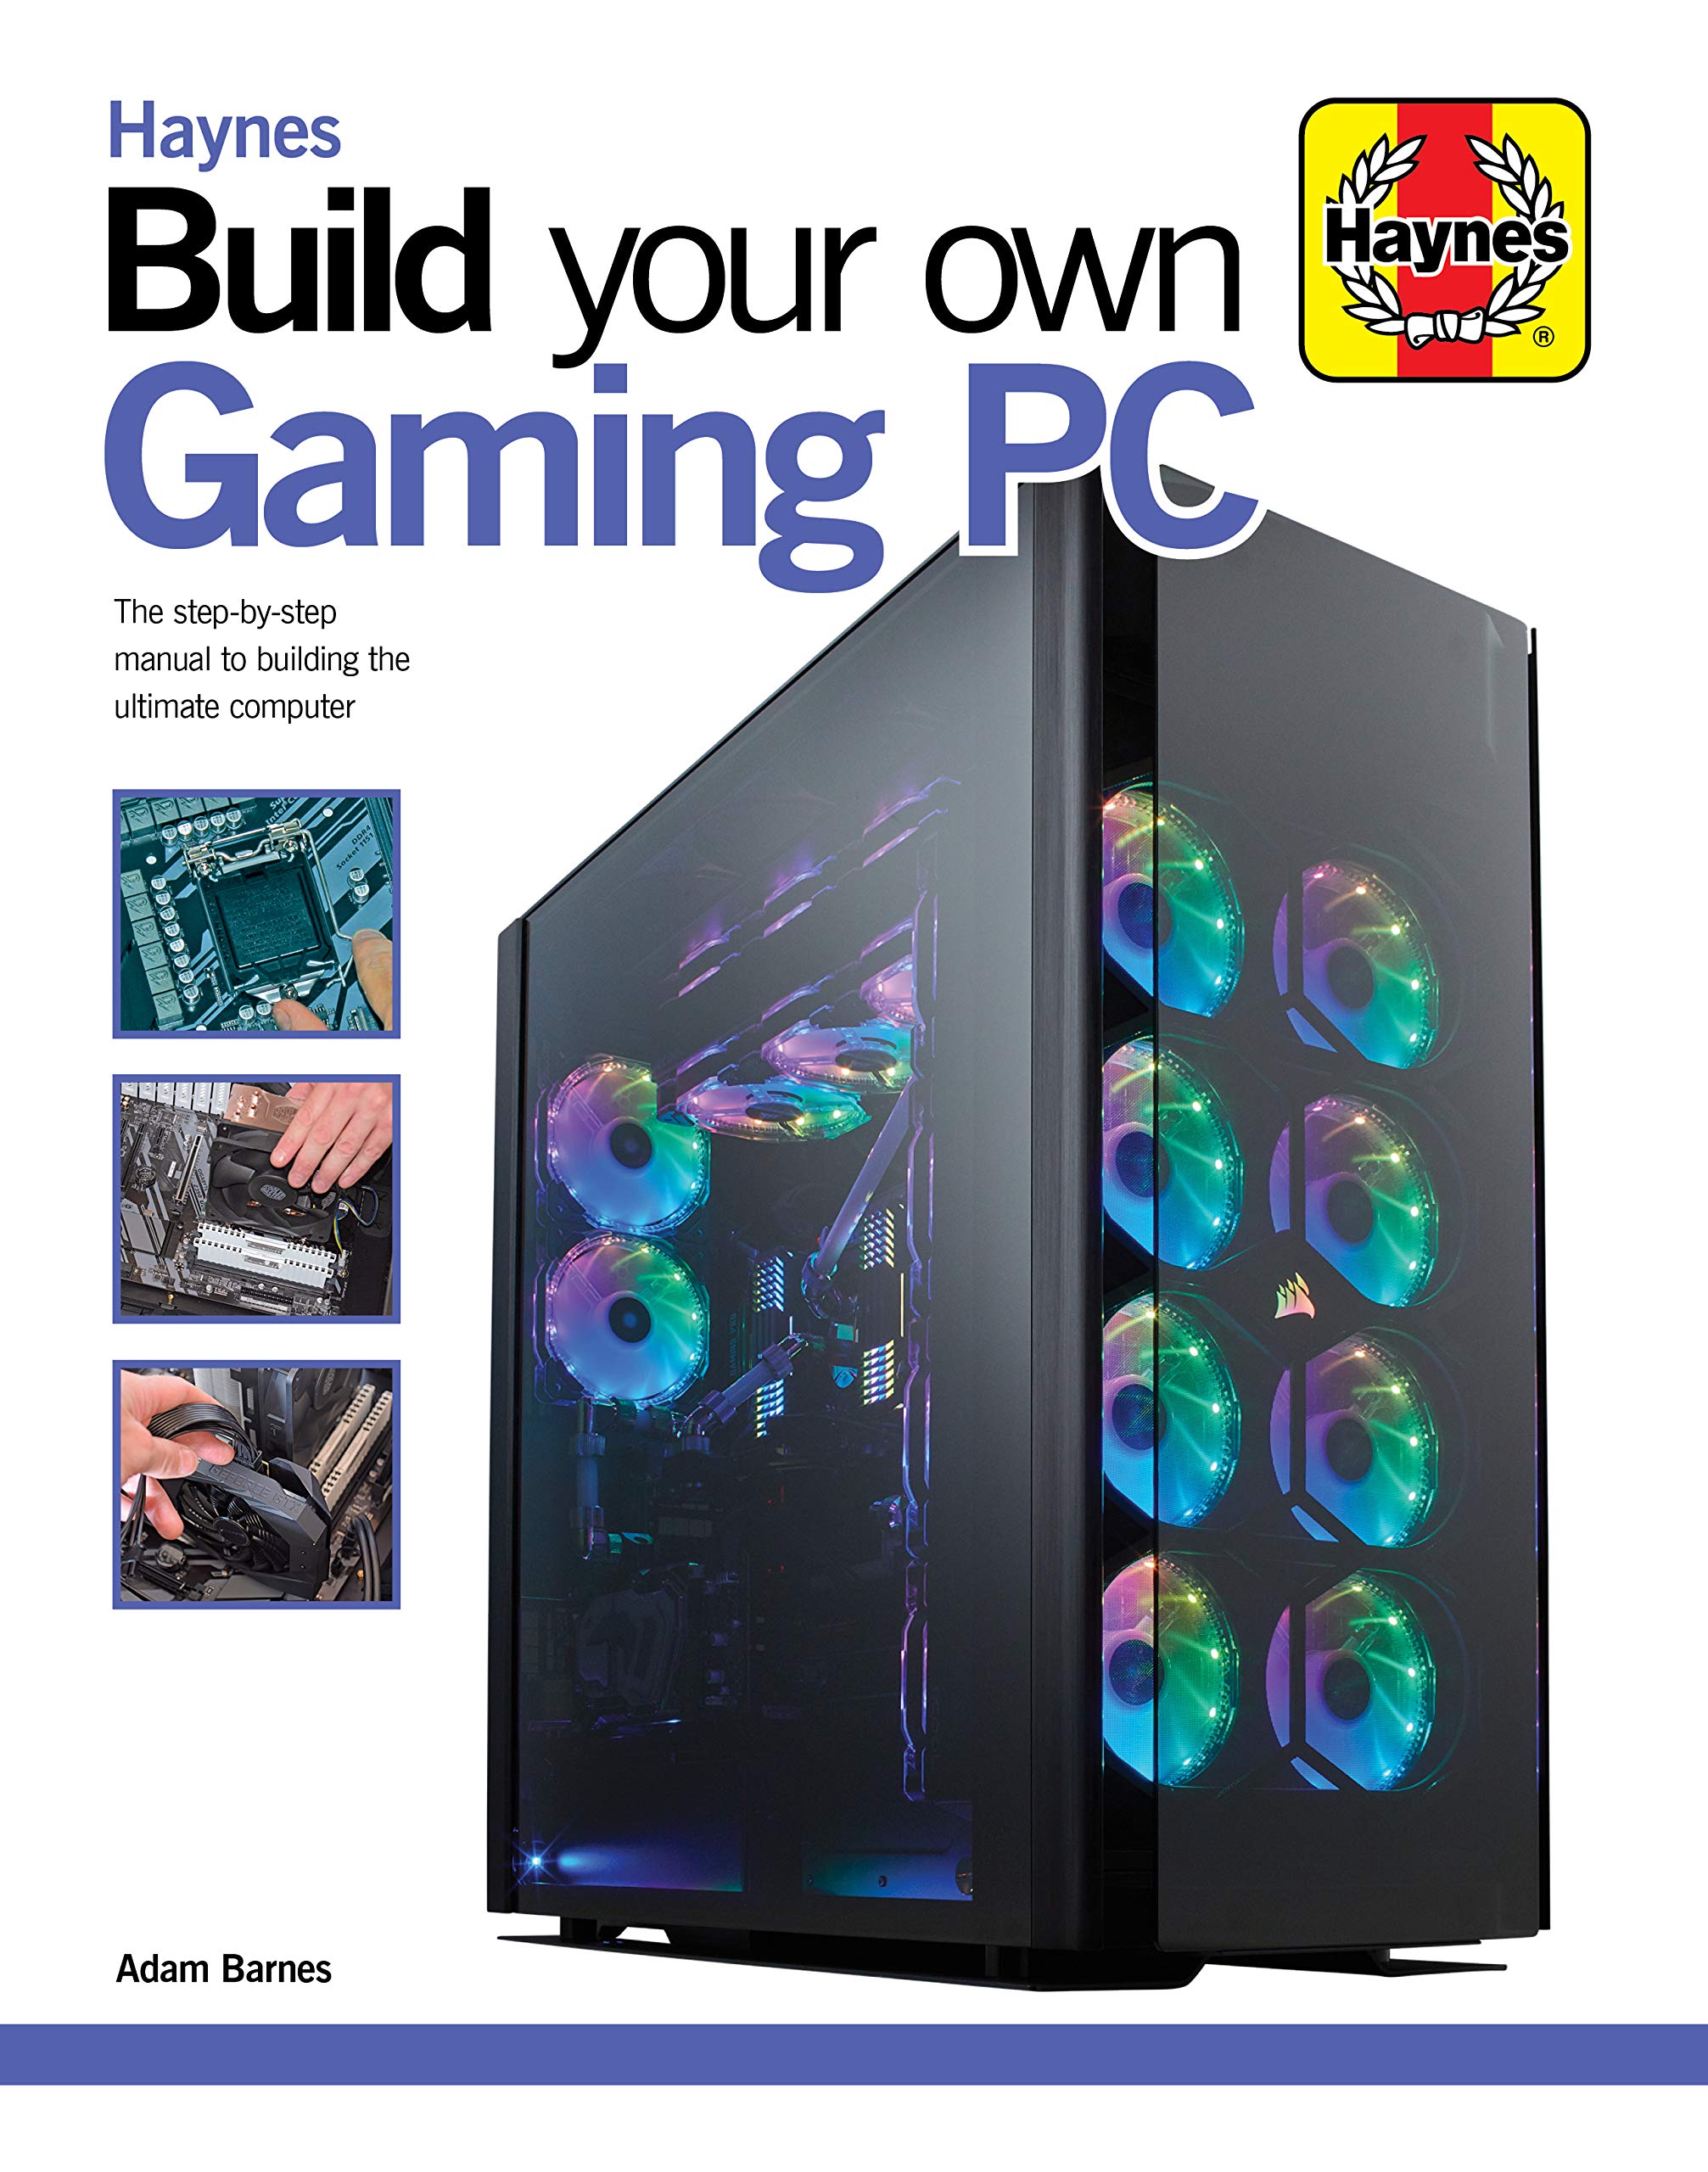
Are you passionate about gaming but don’t want to pay the high prices for a pre-built gaming PC? If so, then this article is for you! In this step-by-step guide, you’ll learn how to build your own gaming PC from scratch and save yourself some money in the process. With the right parts, some patience, and this guide, you’ll be gaming in no time!
Choosing the Right Parts for Your Gaming PC
Choosing the right parts for your gaming PC can be daunting, especially if you’re a first-time builder. You want to make sure you have the most up-to-date and powerful components for your system, but you also need to stay within your budget. Doing your research is key. You’ll want to look into CPU’s, GPUs, motherboards, RAM, storage drives, and power supplies, and compare prices and specs. If you’re not sure what to get, look for pre-built configurations for inspiration and to get an idea of what kind of parts you need. It’s also important to note that not all parts are compatible with each other, so double-check that your setup is compatible. Have fun with it and create the PC of your dreams!
Understanding the Basics of PC Building

Building your own gaming PC is a great way to get the perfect set up for your gaming needs. But it can be daunting if you don’t know what you’re doing. That’s why it’s important to understand the basics of PC building before you dive in. You need to know what components you’ll need and how they fit together. You should also research the latest hardware, power requirements, and cooling solutions. Knowing this will help you make an informed decision and build the rig of your dreams.
Installing the Components in Your PC

Installing all your components in the PC is the most important part of the build. First, start by sliding in the CPU into the CPU socket. Then, apply thermal paste and install the cooler. Next, secure the motherboard with screws on the case. After that, install the RAM onto the motherboard. Finally, connect the power supply, hard drive, and graphics card to the motherboard. Make sure all the cables are connected properly and that all of the components are firmly in place. Don’t forget to insert any additional components like a sound card or WiFi card. Once you’re done, you’re ready to boot up your PC and get gaming!
Assembling and Connecting the PC Components

The assembly and connection of the PC components can be intimidating, but it’s not as hard as it looks. First, you’ll need to install the motherboard, CPU, and RAM. Make sure to use the correct thermal paste and secure them with screws. Then, connect the power supply and install the hard drive and graphics card. Connect the cables to the motherboard and ensure the power and data cables are plugged into the correct ports. Finally, double-check your connections and make sure everything is secure. Now it’s time to start gaming!
Testing and Troubleshooting Your Gaming PC

Testing and Troubleshooting your Gaming PC is a big part of the process to make sure you’re getting the most out of it. There are multiple ways to do this, from running benchmark tests to troubleshooting any issues you may encounter. Benchmark tests will evaluate the performance of your PC and help you determine if it’s up to your gaming needs. Troubleshooting any issues you find is also important, as it can save you time and money in the long run. Make sure to research any problems you come across and take the time to test out different solutions. If all else fails, don’t be afraid to reach out to a professional for help.


GIPHY App Key not set. Please check settings